

From Blog Idea to Published Post: A Simple Content Creation Workflow
Coming up with a great blog idea is exciting. But turning that idea into a complete, useful, and publish-ready article can sometimes feel like a lot of work.

Postnest
Author & Contributor
You may start with a simple thought such as “I should write about productivity,” only to find yourself wondering what to write, how to structure it, what keywords to use, whether the introduction is good enough, and how to make people actually want to read it.
The good news is that creating a blog post does not have to be complicated.
With a simple content creation workflow, you can move from idea to published post without getting stuck at every step. Whether you are writing your first article or publishing content regularly, having a repeatable process can save time and improve the quality of your writing.
Here is a simple workflow you can follow.
1. Start With a Clear Blog Idea
Every good blog post starts with an idea, but not every idea is ready to become an article.
Before writing, ask yourself three simple questions:
What problem does this topic solve?
Who would find this information useful?
What will the reader learn after reading the post?
For example, instead of choosing a broad topic like “Blogging,” you could narrow it down to “How to Start a Blog as a Beginner.”
A specific topic makes it easier to decide what information belongs in the article and what should be left out.
You can collect ideas from your own experiences, questions people ask, online discussions, customer feedback, frequently searched topics, or problems you have personally solved.
Keeping an idea list is also helpful. Whenever an interesting topic comes to mind, write it down rather than relying on your memory.
2. Understand What Your Readers Want
A blog should not only be about what you want to write. It should also give readers a reason to spend their time reading it.
Think about the search intent behind your topic.
Someone searching for “how to write a blog post” probably wants practical instructions. Someone searching for “best blogging tools” may be comparing different tools before making a decision.
Understanding this difference helps you create content that matches the reader's expectations.
Try putting yourself in the reader's position:
“If I searched for this topic, what would I expect to find?”
The answer can become the foundation of your article.
3. Do Some Basic Keyword Research
You do not need to turn your article into a collection of keywords.
Instead, choose one main topic or keyword and naturally include related phrases where they make sense.
For example, if your main topic is content creation workflow, related phrases might include:
content creation process
blog writing workflow
how to create a blog post
content planning
publishing a blog article
blogging workflow
Use these naturally throughout the article.
The goal is to make the topic clear to both readers and search engines. Avoid repeating the same keyword unnecessarily because writing for search engines at the expense of readability can make an article feel unnatural.
A useful rule is simple: write for humans first, then optimize for search.
4. Create an Outline Before Writing
One of the easiest ways to make writing faster is to create an outline first.
Instead of staring at a blank page, decide what you want to cover.
For example, a blog post about creating content could have this structure:
Introduction
Find a blog idea
Understand your audience
Research keywords
Create an outline
Write the first draft
Edit and improve
Add images and links
Optimize the article
Publish and promote
An outline gives your article direction.
It also helps prevent a common blogging problem: starting with one topic and slowly drifting into several unrelated topics.
Your outline does not need to be perfect. It is simply a roadmap for your writing.
5. Write the First Draft Without Overthinking
Once your outline is ready, start writing.
This is where many bloggers get stuck. They try to make every sentence perfect while writing the first draft.
Don't.
Your first draft is supposed to get your ideas onto the page.
Write naturally and explain things the way you would explain them to another person. If you cannot find the perfect word immediately, keep going and come back to it later.
You can also leave notes for yourself, such as:
[Add example here]
or
[Find supporting statistic]
This keeps the writing process moving.
Remember that publishing useful content consistently is often more valuable than waiting forever for one “perfect” article.
6. Make Your Introduction Interesting
The introduction is important because it gives readers their first impression of your article.
A strong introduction usually does three things:
Identifies the reader's problem
Explains what the article will help them accomplish
Gives them a reason to continue reading
Avoid spending several paragraphs talking about things that do not directly relate to the topic.
For example, if your article is about creating a content workflow, you can immediately acknowledge the challenge:
“Having dozens of blog ideas is easy. Turning those ideas into consistently published articles is much harder.”
That quickly establishes the problem and gives the reader a reason to continue.
7. Edit the Article With Fresh Eyes
Finishing the first draft does not mean the article is finished.
Take a short break and then read the article again.
Look for:
Repeated ideas
Long or confusing sentences
Grammar and spelling mistakes
Weak transitions
Unnecessary paragraphs
Claims that need evidence
Sections that need examples
Read the article as if you are seeing it for the first time.
You may discover that a paragraph that seemed important while writing it is actually unnecessary.
Editing is not about changing every sentence into complicated language. In most cases, good editing makes writing clearer and simpler.
8. Add Helpful Images and Links
Text is important, but visual elements can make a blog easier to understand and navigate.
Consider adding a featured image that represents the topic. You can also use screenshots, diagrams, charts, or other relevant images when they genuinely help explain something.
Internal links are useful too.
If you have another relevant article on your site, link to it naturally. For example, an article about content creation could link to a related guide about choosing blog topics.
External links can also be useful when you reference reliable research, statistics, official documentation, or other authoritative resources.
The goal is not to add links simply for the sake of SEO. Links should provide additional value to the reader.
9. Optimize the Post Before Publishing
Before pressing the publish button, spend a few minutes checking the basic SEO elements.
Make sure your article has:
A clear title
A useful meta description
One main topic
Descriptive headings
Short, readable paragraphs
Relevant internal links
Helpful images
Descriptive image alt text
A clean URL or slug
Your title should tell readers exactly what they can expect.
For example:
From Blog Idea to Published Post: A Simple Content Creation Workflow
is clearer than a vague title such as:
My Blogging Process
Also remember that SEO is more than keywords. Search engines aim to provide useful results, so creating genuinely helpful content should remain your priority.
10. Proofread the Final Version
Before publishing, do one final check.
Read your article from beginning to end.
Check whether the introduction matches the title. Make sure headings are in the right order and links work correctly. Check images, formatting, spacing, and spelling.
It can also help to read the article aloud.
When you read silently, your brain may automatically skip over mistakes. Reading aloud makes awkward sentences and missing words easier to notice.
This final step can turn a rough article into something that feels polished and professional.
11. Publish — Then Keep Improving
Once your article is ready, publish it.
Do not assume that publishing is the end of the process.
After your article has been live for some time, look at how people interact with it. You can monitor search performance, traffic, engagement, and the questions readers still have.
If an article receives impressions but few clicks, you may want to improve its title or meta description.
If readers are finding the article through related searches you did not originally target, you might expand the article to answer those questions.
Content can improve over time.
A blog post published today does not have to remain exactly the same forever.
A Simple Workflow You Can Repeat
The entire process can be summarized into a simple system:
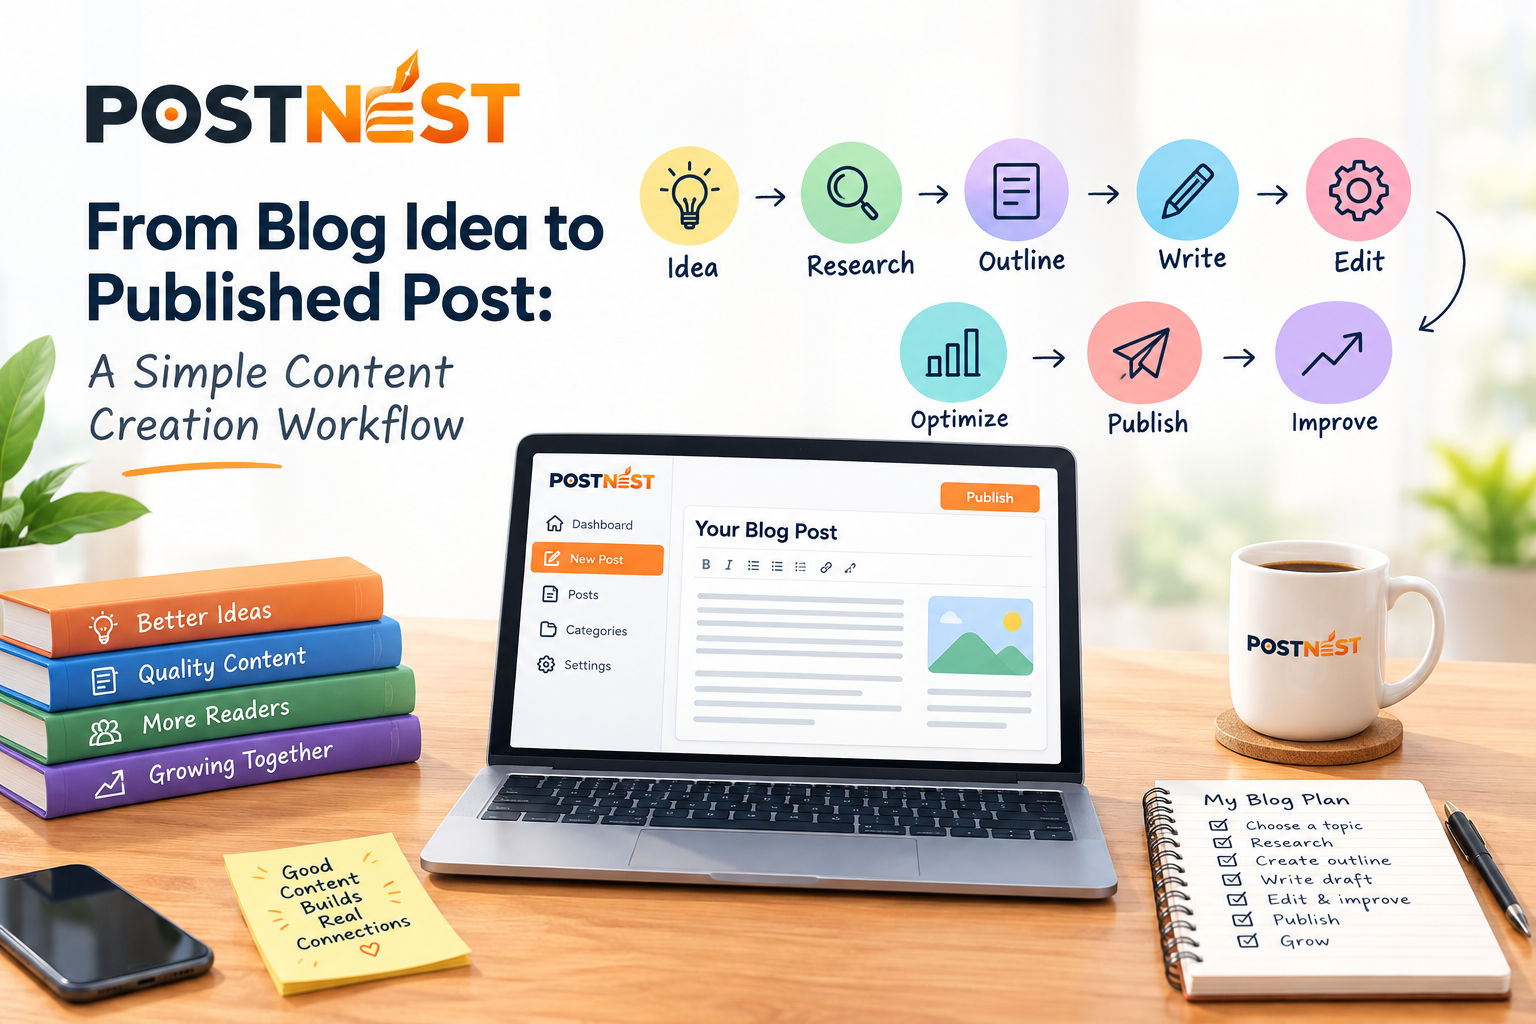
Idea → Research → Outline → Draft → Edit → Optimize → Publish → Improve
You can even turn this into a checklist and use it every time you create a new article.
The biggest benefit of having a workflow is consistency. Instead of wondering what to do next, you always have a clear step to follow.
Final Thoughts
Creating a successful blog is not about producing hundreds of articles as quickly as possible. It is about consistently creating content that answers real questions and provides genuine value.
A simple workflow makes that process easier.
Start with a clear idea. Understand your reader. Do basic research. Create an outline. Write naturally. Edit carefully. Optimize the important SEO elements, and then publish.
Most importantly, don't wait for perfection.
Your writing will improve as you practice, and your content strategy will become clearer as you learn what your audience actually wants.
If you are building a collection of ideas and want a simple place to turn those ideas into published articles, PostNest can be part of that workflow — from the first idea to the final post.